Get Started with BurnCare
How to request access, and how to run a case from the web portal or the Android app.
1. Get an account
Access is restricted to authorized clinical and research personnel, so every new user starts with a request rather than a self-serve sign-up.
- Submit the request an account form with your name and role.
- An administrator reviews and approves the request from the admin dashboard.
- You'll be notified once approved; you can check the request state any time on the check application status page.
- Once approved, sign in from the user login page.
2. Walk through the web portal
This is the actual screen-by-screen flow — from signing in to reading a finished TBSA & fluid estimate — exactly as it looks in the portal.
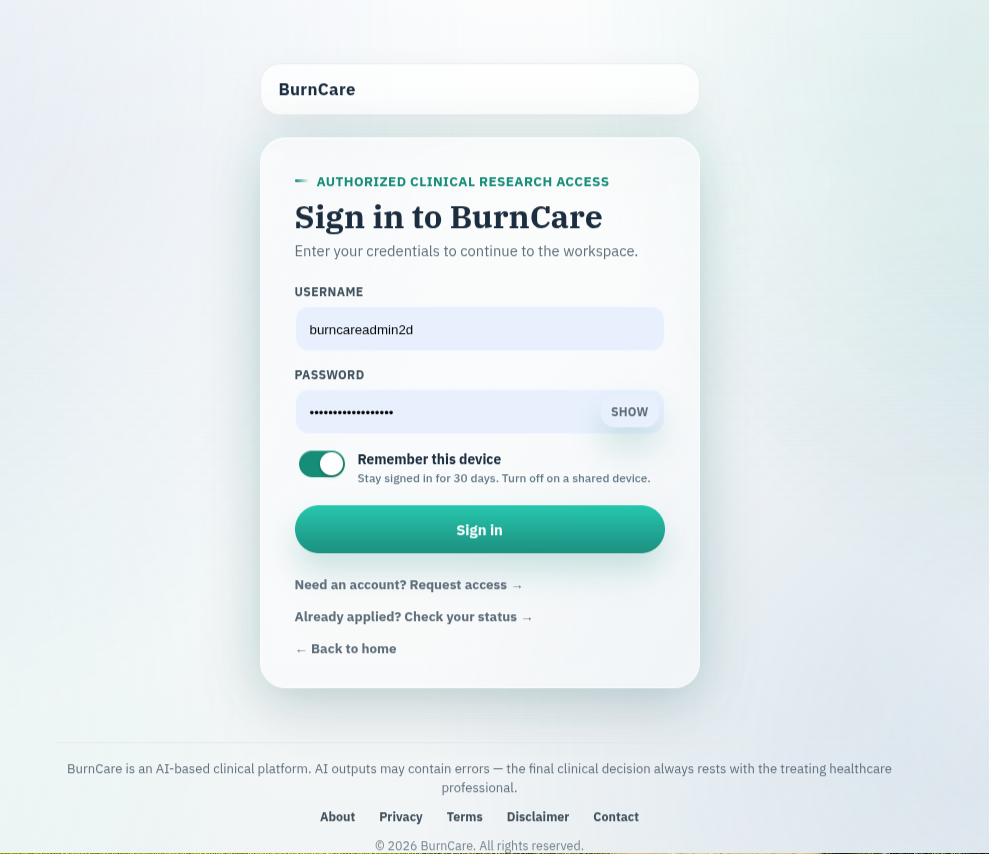
Sign in with your approved account
Enter your username and password. "Remember this device" keeps you signed in for 30 days — leave it off on a shared workstation.
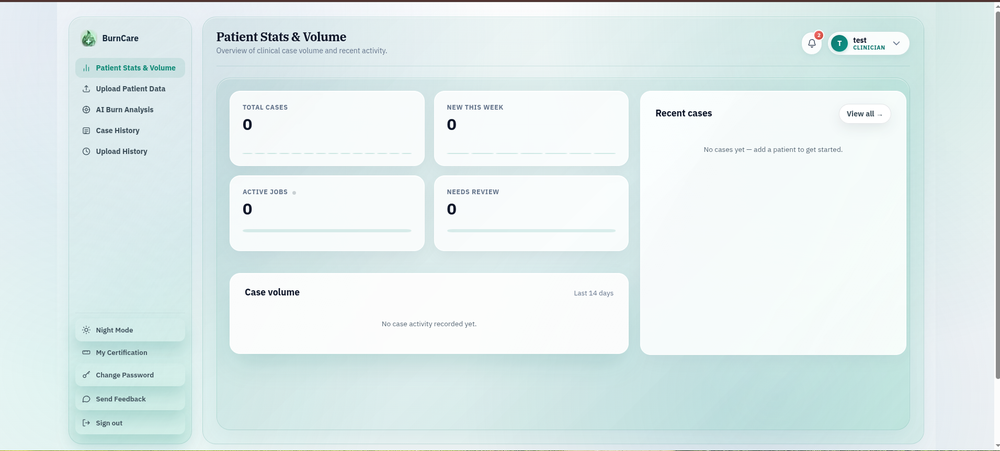
Land on Patient Stats & Volume
Your home screen: total cases, new-this-week, active jobs, and anything flagged "needs review." The sidebar (Upload Patient Data, AI Burn Analysis, Case History, Upload History) is how you get everywhere else.
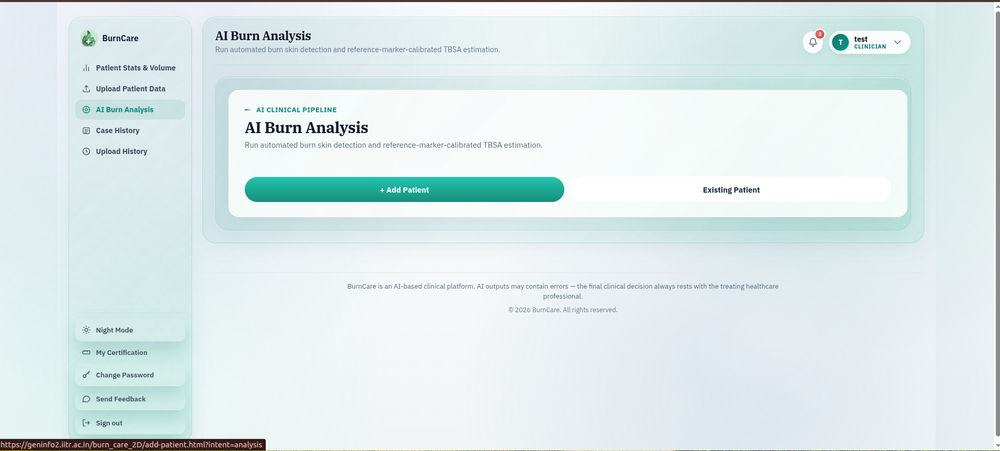
Open "AI Burn Analysis" and pick a patient
Choose + Add Patient for a new patient, or Existing Patient to run another photo against a case already on file. (The same two buttons also appear under Upload Patient Data if you just want to archive a photo without running the AI pipeline.)
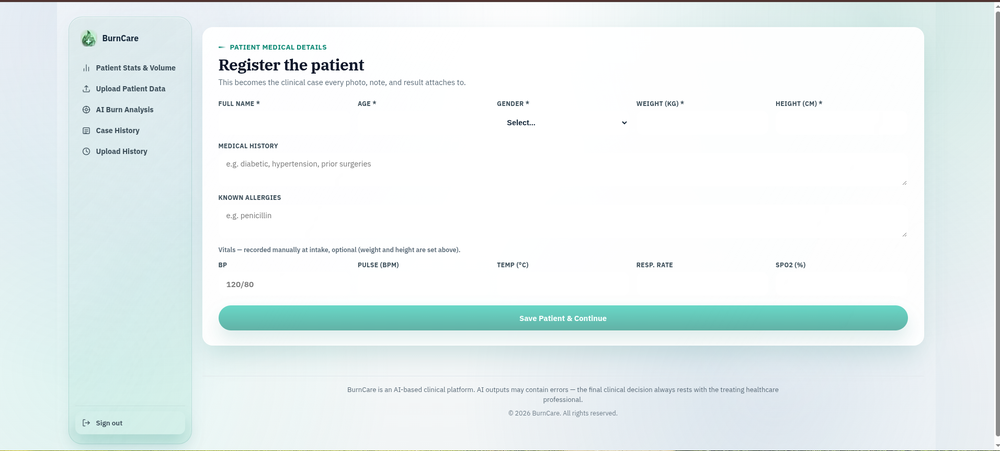
Fill in the patient's medical details
Name, age, gender, weight and height are required — weight is what drives the Parkland fluid estimate later. Medical history, allergies and vitals are optional and can be filled in now or later. This record becomes the case every photo, note and result attaches to.
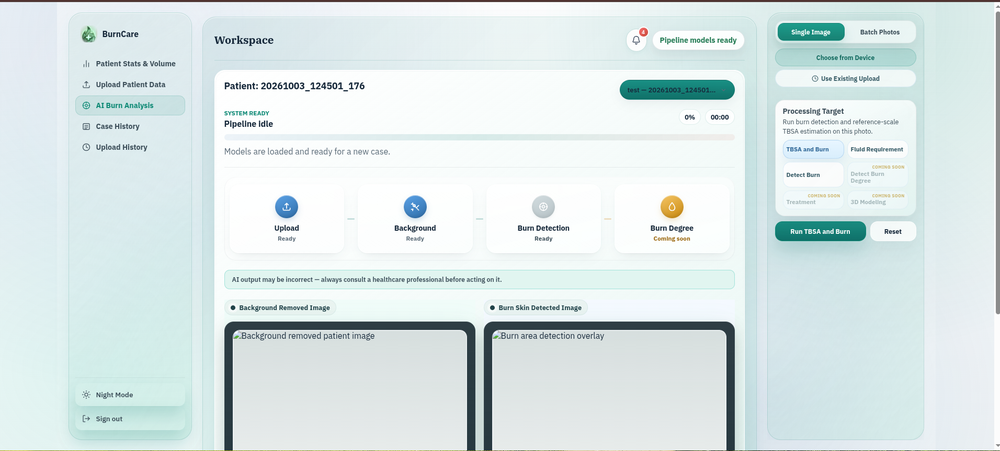
Choose a photo and a processing target
On the right, pick Single Image or Batch Photos, then Choose from Device (or reuse a prior upload). Under "Processing Target," select TBSA and Burn to run the full pipeline, then Run TBSA and Burn.
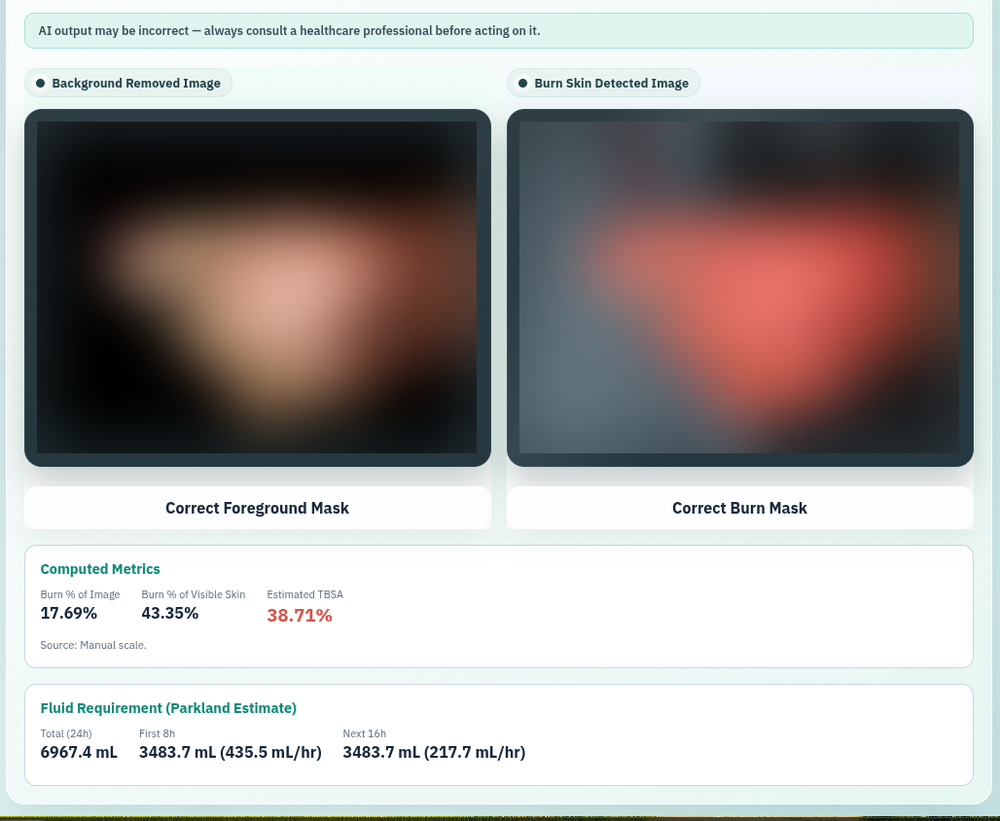
Review the AI output and the TBSA & fluid estimate
The pipeline shows the background-removed photo next to the burn-region overlay, then "Computed Metrics" (burn % of image, burn % of visible skin, estimated TBSA) and the Parkland Fluid Requirement estimate below it. If a mask looks wrong, use Correct Foreground Mask or Correct Burn Mask right above the metrics — see the calibration walkthrough below.
Every button in the workspace panel
The right-hand panel in the workspace (step 5 above) looks a little different depending on Single Image or Batch Photos mode — here's both, and what every button in them does.
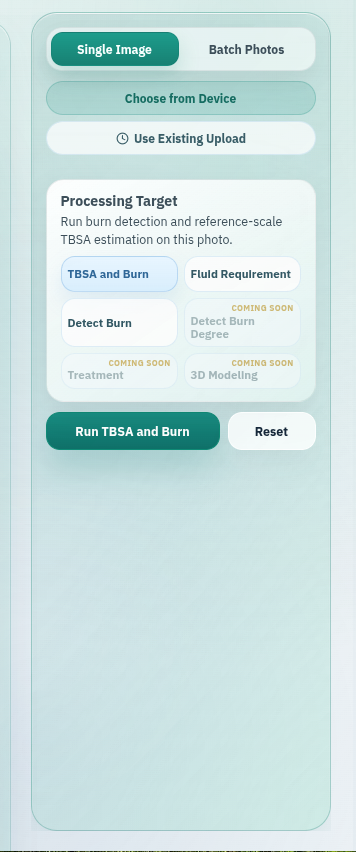
Single Image mode Choose from Device picks one photo. Use Existing Upload (only shown once a case already has an upload on file) reuses it instead of picking a new file. All four targets are selectable here, and the run button reads Run TBSA and Burn / Run Fluid Requirement / Run Burn Detection depending which chip is active.
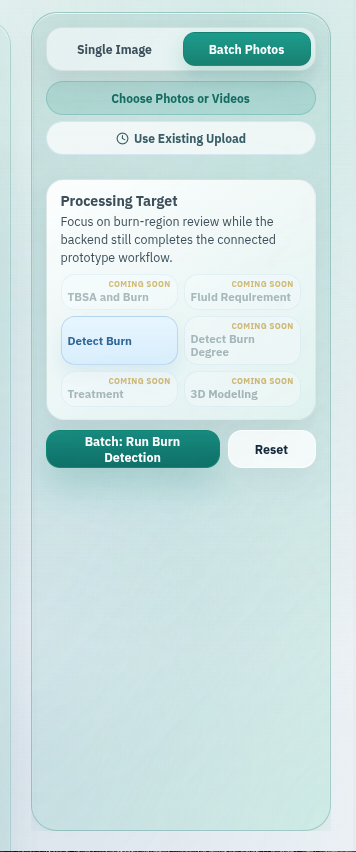
Batch Photos mode Choose Photos or Videos accepts multiple JPG/PNG/WEBP photos and MP4/MOV/AVI/MKV/WEBM videos at once (video frames are extracted automatically). TBSA and Burn and Fluid Requirement gray out here — both need the single-photo scale-lock dialog — so only Detect Burn is selectable, and the run button becomes Batch: Run Burn Detection.
- Stop — only appears once a job is running; cancels it mid-pipeline.
- Reset — clears the current selection and results, back to idle.
- Correct Foreground Mask / Correct Burn Mask — below each result image; opens the point-and-polygon editor from the calibration walkthrough below on that image's mask.
- Calculate TBSA — appears only after a mask correction is saved; recomputes the TBSA % from the corrected mask.
- Export Referral PDF — opens the report modal to generate a PDF for this case/run.
- Download Overlay — downloads the burn-overlay image file directly.
3. Calibrate the scale and correct a mask
Every photo needs a real-world scale to turn a pixel ratio into a TBSA percentage. This is the dialog behind Correct Foreground Mask / Correct Burn Mask, and it also covers what to do when no ruler or surgical tape is visible in the shot. (The photo itself is blurred below — these are from a real test capture — but every control and number is untouched.)
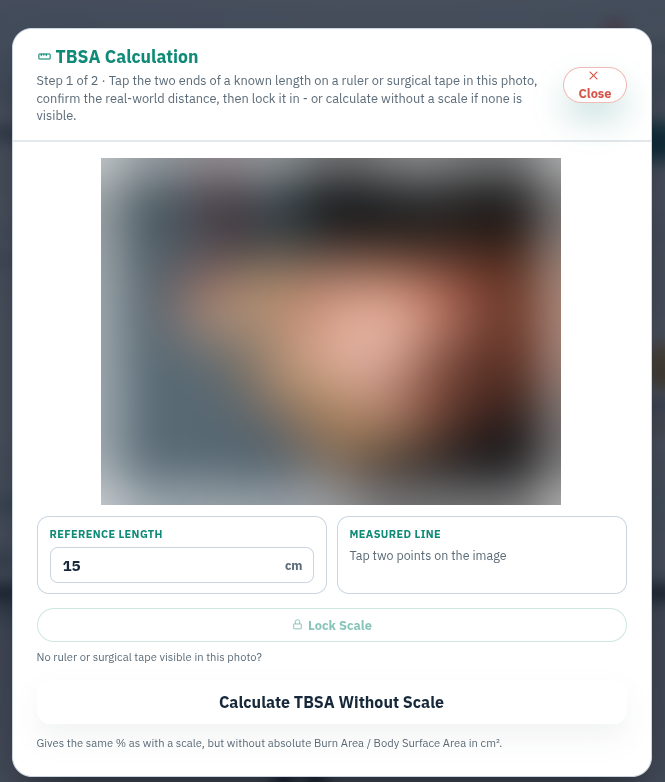
1. Set the reference length Tap the two ends of a known length — a ruler or surgical tape in the photo — enter its real length in cm, and lock the scale. No ruler in frame? Use Calculate TBSA Without Scale instead; you still get a burn/body percentage, just not an absolute cm² area.
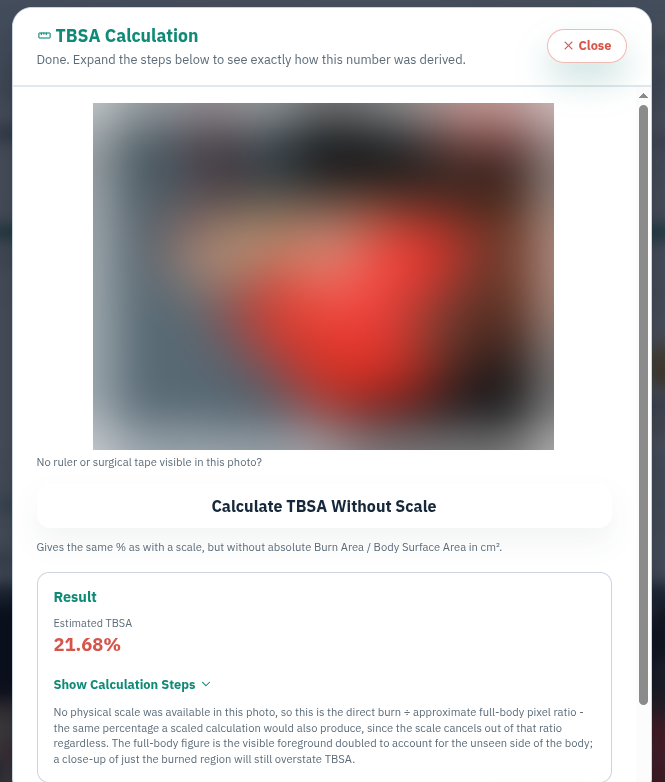
2. Get the automatic result The dialog returns an estimated TBSA from the AI's own foreground and burn masks, with "Show Calculation Steps" to see exactly how the number was derived.
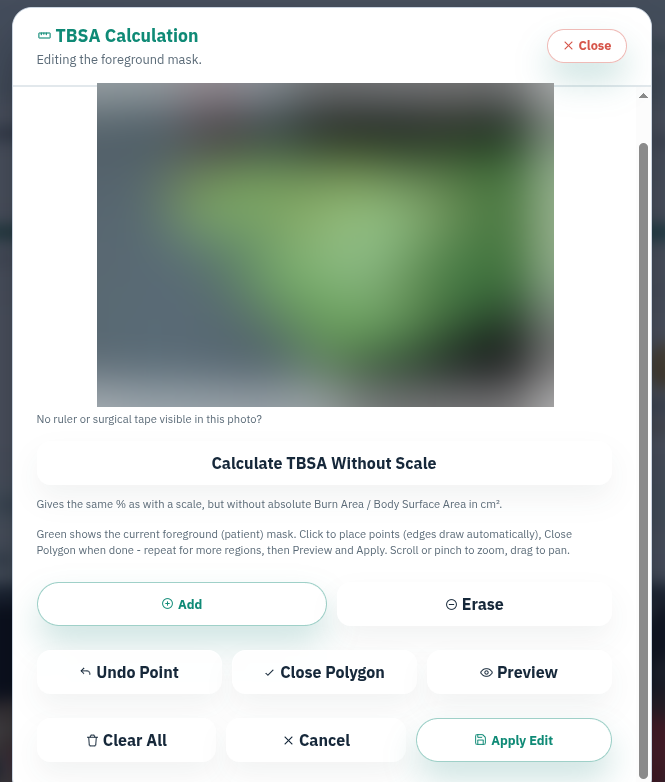
3a. Correct the foreground mask If the patient outline is wrong, tap Add and click points around the correct region (edges draw automatically) — Close Polygon, repeat for more regions, then Preview and Apply Edit.
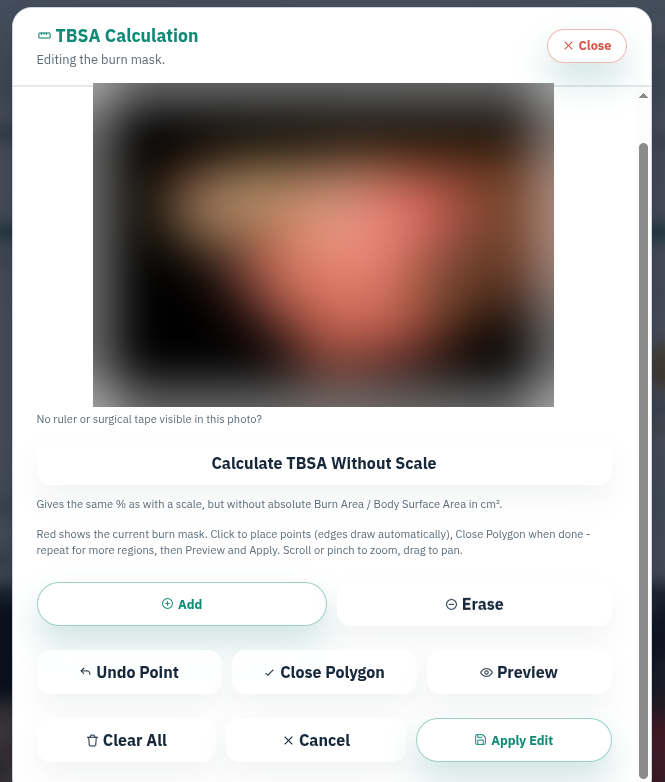
3b. Correct the burn mask Same tool, same controls, now tracing the burn region itself instead of the patient outline.
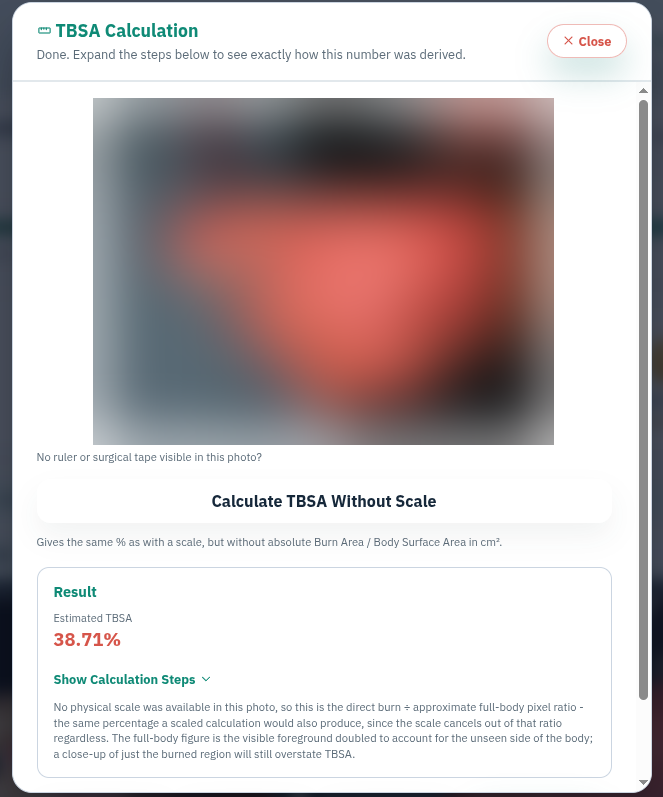
4. See the corrected estimate The TBSA recalculates from your corrected mask immediately, and that corrected figure is what carries through to the case's results panel and any exported report.
4. Find a case again
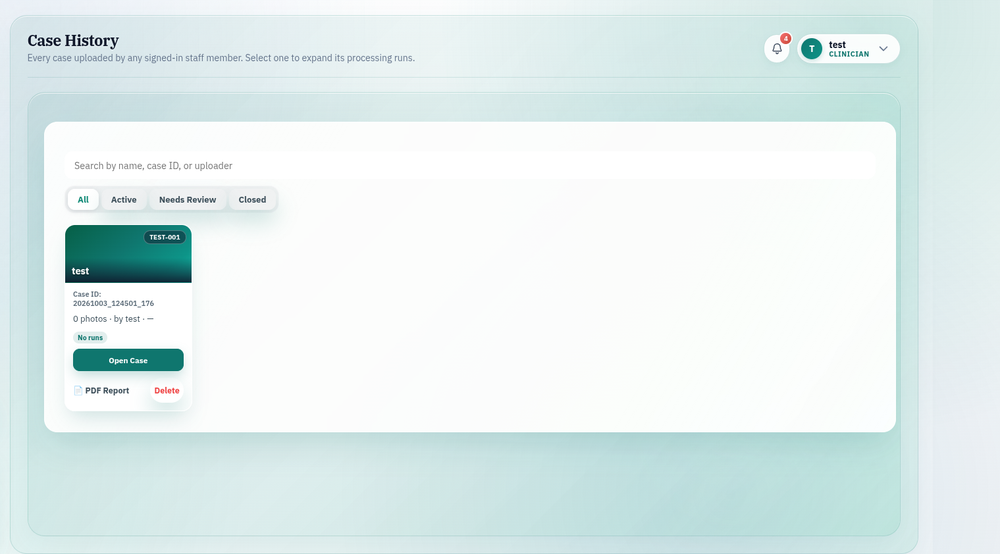
Every case uploaded by any signed-in staff member
Search by name, case ID, or uploader, and filter by Active / Needs Review / Closed. Open a case to resume analysis, export its PDF report, or delete it.
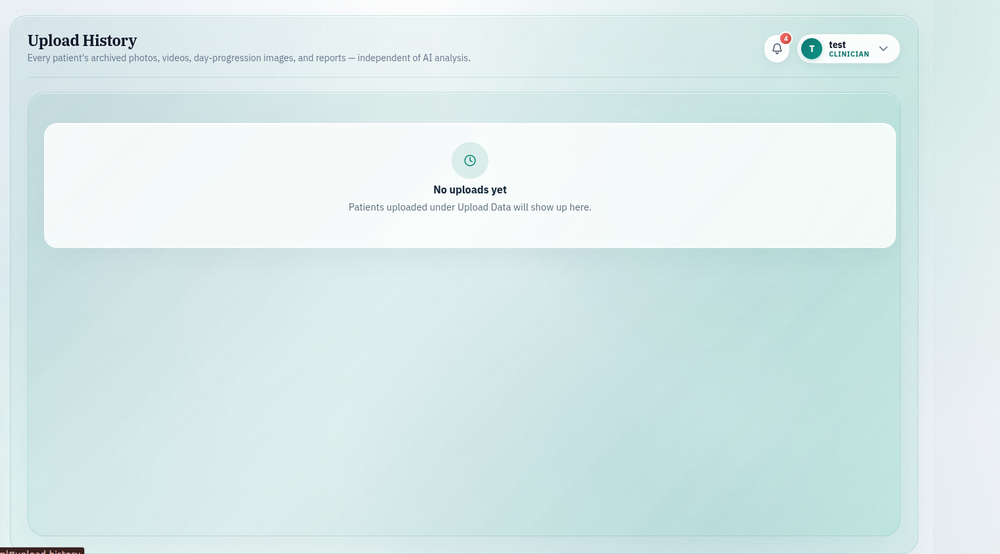
Every archived photo, video and report
A record of everything uploaded under Upload Patient Data — photos, videos, day-progression images and referral reports — independent of whether the AI pipeline ever ran on them.
Every case, upload, and result stays tied to your account — only you and administrators can see your patients' photos and reports.
5. Using the Android app
The Android app mirrors the web portal workflow for bedside or ward use. It is currently a research-build debug APK (not yet listed on Google Play), so it is installed directly from the APK file rather than a store link.
- Install the debug APK on an Android device (minimum Android 7.0 / API 24). Since it isn't from the Play Store, you'll need to allow installs from this source when prompted.
- Open the app — it connects to the BurnCare server automatically on first launch.
- Sign in with the same account used on the web portal.
- Add or select a patient, then capture or upload a photo to run the same AI pipeline.
- Review the TBSA result on-device — via the automatic estimate, or the manual Rule-of-Nines / Lund-Browder calculator — right after upload.
The app and web portal share one account and one case history, so a patient started on the ward in the app shows up immediately in the web portal, and vice versa.
Read next
See about BurnCare for what the platform does and doesn't do, the clinical AI disclaimer for the accuracy/liability notice, and the terms of use for account and usage rules.